◢ The stack
◢ The build · 4 steps · 10 min
Follow these in order. Don't skip.
01
Step 01 / 04
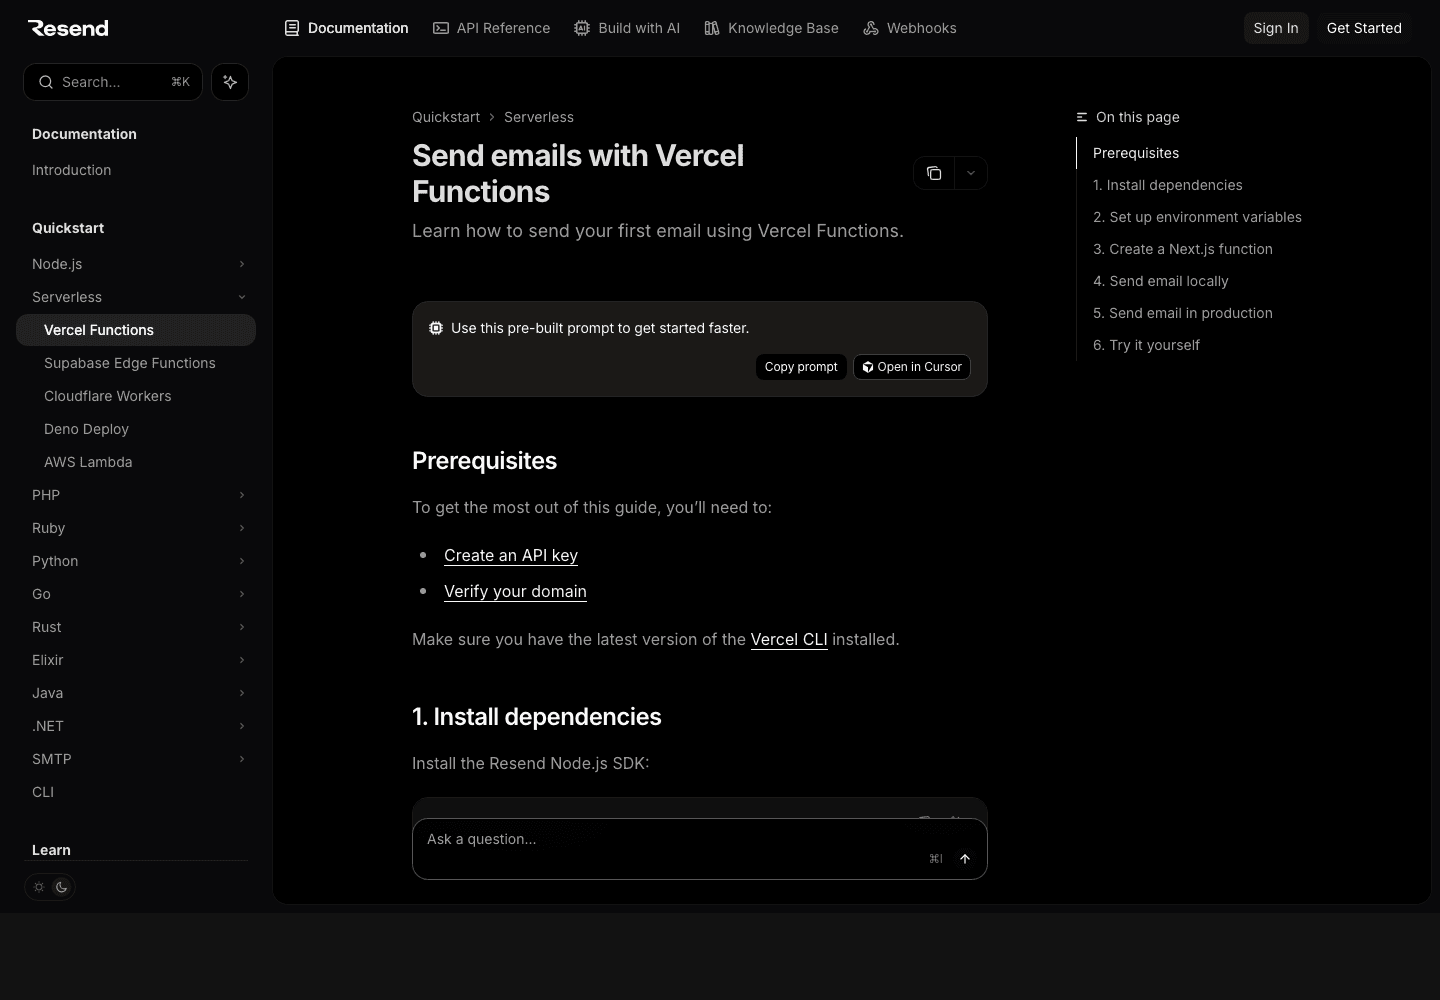
Sign up + add a domain
STEP 01
- ▸Use a domain you own (sending from gmail.com is blocked — it's not yours)
- ▸Resend gives you 3 DNS records: SPF, DKIM, MX (return-path). Add all three at your registrar.
- ▸Click Verify. Usually green within 5 minutes; sometimes 1 hour.
◆ Watch out
Don't skip DKIM. Without it, Gmail and Outlook send you to spam by default. The whole reason to use Resend over a random SMTP is deliverability.
02
Step 02 / 04
Get the API key
- ▸Dashboard → API Keys → Create API Key
- ▸Permissions: Sending access (read-only on everything else for safety)
- ▸Copy the key — only shown once
.env.local
1RESEND_API_KEY=re_...03
Step 03 / 04
Send your first email
Terminal
1npm install resendsrc/lib/email.ts
1import { Resend } from "resend";2 3const resend = new Resend(process.env.RESEND_API_KEY);4 5export async function sendEmail(args: {6 to: string;7 subject: string;8 html: string;9}) {10 const { data, error } = await resend.emails.send({11 from: "Your Name <noreply@yourdomain.com>",12 to: args.to,13 subject: args.subject,14 html: args.html,15 });16 if (error) throw new Error(error.message);17 return data;18}src/app/api/test-email/route.ts
1import { sendEmail } from "@/lib/email";2 3export async function POST() {4 const result = await sendEmail({5 to: "you@example.com",6 subject: "Hello from my agent",7 html: "<h1>It works.</h1><p>Your agent just emailed you.</p>",8 });9 return Response.json(result);10}04
Step 04 / 04
Use React Email for real templates
Hard-coded HTML strings are a maintenance nightmare. React Email lets you compose emails like normal components.
Terminal
1npm install @react-email/components react-emailsrc/emails/welcome.tsx
1import {2 Html, Head, Body, Container, Heading, Text, Button, Hr,3} from "@react-email/components";4 5export default function Welcome({ name }: { name: string }) {6 return (7 <Html>8 <Head />9 <Body style={{ backgroundColor: "#0a0a0a", color: "#fafafa", fontFamily: "Geist, sans-serif" }}>10 <Container style={{ maxWidth: 560, padding: "32px 24px" }}>11 <Heading style={{ fontSize: 28, marginBottom: 16 }}>12 Welcome, {name}.13 </Heading>14 <Text style={{ fontSize: 15, lineHeight: 1.6, color: "#b4b4b8" }}>15 Your agent is live. Below is your first task — reply to this email16 with anything and the agent will respond.17 </Text>18 <Button19 href="https://yourdomain.com/dashboard"20 style={{21 background: "#34d399", color: "#000", padding: "12px 20px",22 borderRadius: 4, fontWeight: 600, textDecoration: "none",23 }}24 >25 Open dashboard →26 </Button>27 <Hr style={{ borderColor: "#222", margin: "32px 0" }} />28 <Text style={{ fontSize: 12, color: "#666" }}>29 Sent by your agent · reply STOP to unsubscribe.30 </Text>31 </Container>32 </Body>33 </Html>34 );35}src/lib/email.ts (updated)
1import { Resend } from "resend";2import Welcome from "@/emails/welcome";3 4const resend = new Resend(process.env.RESEND_API_KEY);5 6export async function sendWelcome(to: string, name: string) {7 return resend.emails.send({8 from: "You <noreply@yourdomain.com>",9 to,10 subject: `Welcome, ${name}`,11 react: Welcome({ name }),12 });13}◆ Ship-it checklist
5 CHECKS
- Domain verified (SPF + DKIM + MX all green)
- API key in .env.local + Vercel
- src/lib/email.ts wraps Resend calls
- At least one React Email template in src/emails/
- You sent a test email and it landed in your inbox (not spam)